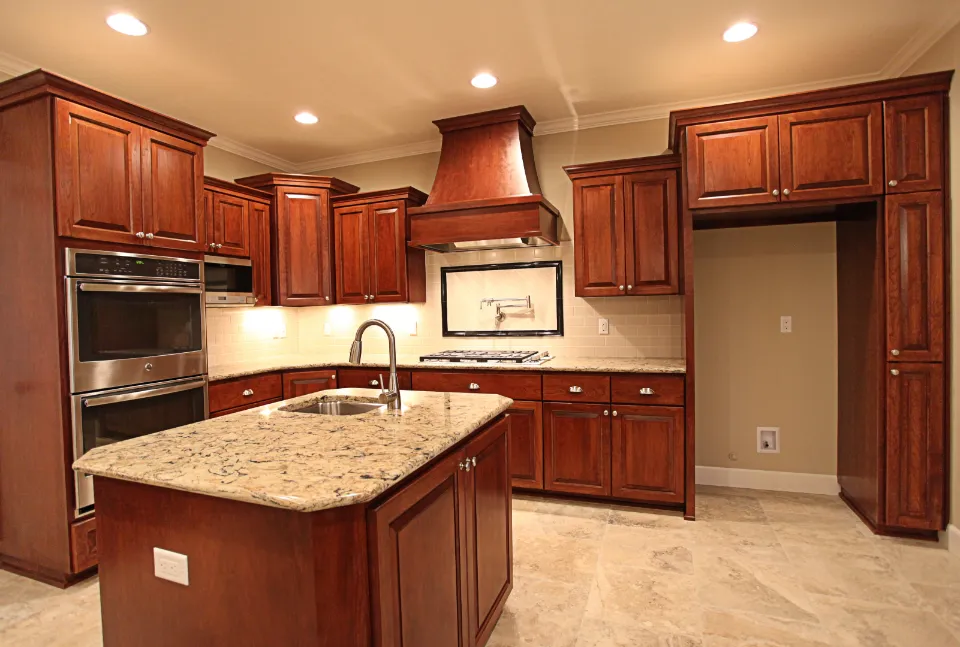
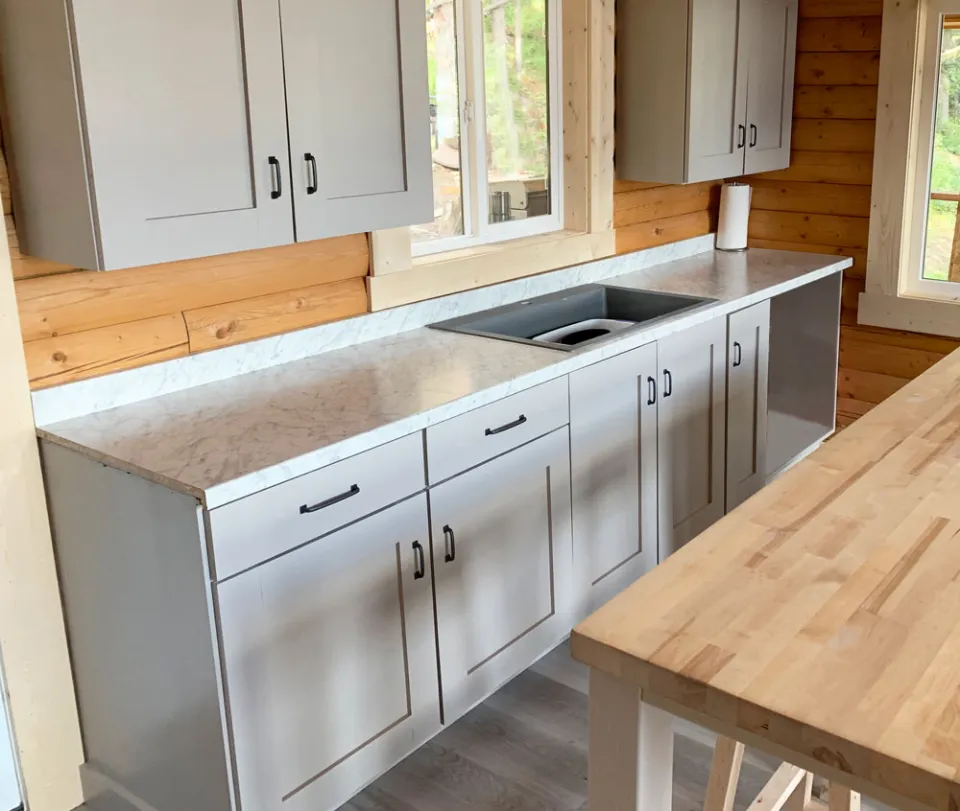
You can learn how to install kitchen cabinets straight, solid, and true using these fundamental techniques.
To begin with, you are supposed to prepare tools. Then, find the high point on the floor. We will show you how to install Wall/Upper Kitchen Cabinets, and Lower/Base Kitchen Cabinets.
Continue reading.
What You’ll Need to Install Kitchen Cabinets
- Floor or wall cabinets
- Tape measure
- 2′ level
- 8′ level
- Stud finder
- Contractor’s pencil
- Drill or impact driver with drill bit and screwdriver heads
- Screws (at least 2″ depending on depth of cabinet boards)
- Shims (to level or plumb cabinets against uneven floors or walls)
How to Install Kitchen Cabinets?
Find the High Point on the Floor
As we previously mentioned, most floors are uneven. Place your 8′ level against the wall on the ground. The floor is uneven somewhere if there is any space between the level and the surface or if the level swings slightly. To avoid running out of room while installing the cabinets, you must find the highest point in the room and measure everything from there.
Use your 8′ level to circle the room and mark the highest point you come across. Measure the height of your lower cabinets from that point and mark it on the wall. Mark each point along the perimeter of the space with a level, then draw a line connecting them all.
TIP: You can join cabinets together before fastening them to the wall if you’re installing several cabinets side by side. But because it’s tricky, make sure they’re all precisely level and flush with one another.
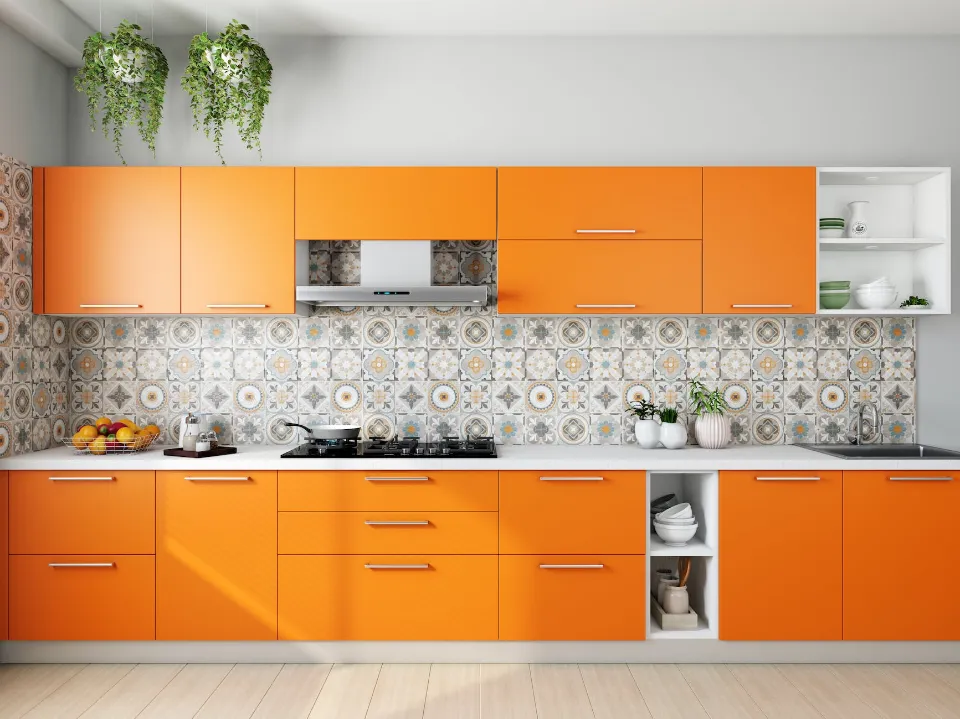
Install Wall/Upper Kitchen Cabinets
- Decide how much space you want between the top of your wall cabinet and the ceiling. Take a measurement of the cabinet’s entire height starting at the ceiling and working your way down. Mark a line that runs the length of the room, adding to it however much space you want to leave above the cabinet (let’s say 10 inches). Make sure that line is parallel with your “high point” line.
- Make sure there is enough space between the top of your lower cabinets and the bottom of your wall cabinets. If you’re installing both upper and lower kitchen cabinets in the same spot, make sure there’s plenty of space between them for appliances and countertops (about 17″ should be enough for most appliances).
- Locate and mark the studs in the wall in the spots you’ll be installing the cabinets.
- Duplicate the stud marks in the same places on the back side of the cabinet. Create pilot holes where the marks on the cabinet were.
- Line up the bottom of the cabinet with your wall marking from earlier (to leave space above and below the cabinet as desired), and line up the pilot holes in the cabinet with the studs in the wall. Drill screws through the pilot holes at the top of the inside of the cabinet and into the stud.
- If you have a helping hand to hold the cabinet in place while you screw into the studs, this step will be much simpler.
- With those first couple of screws secured, use a level on the sides of the cabinet to make sure it’s plumb. If it’s not plumb, shim up the space between the wall and the cabinet until it is, then screw in the remaining pilot holes.
- With the cabinet secured to the wall, reinstall any shelves or doors.
Install Lower/Base Kitchen Cabinets
- Like you did for the upper cabinets, measure the distance between the studs in the wall and mark those points on the strongest parts of the back of your lower cabinet (usually a horizontal bar made of wood or pressboard that runs the length of the cabinet). For each stud, drill a pilot hole in those points so that you can later insert screws.
- Align the top of the cabinet with your “high point” mark from earlier. If the floor is uneven, you might need to add shims between part of the cabinet and the floor to make it line up perfectly.
- Keeping your high point line even with the top of the cabinet, line up your pilot holes with the studs in the wall and put a screw through the pilot hole and into the studs.
- The next step, after making sure everything is level and plumb, is to tighten every screw. Don’t do this yet.
- If there’s space between the wall and the cabinet (which there likely is), add shims to fill any extra space. The remaining pilot holes can now have the remaining screws tightened.
- Make sure the cabinet’s top is level from top to bottom. If it’s uneven, add shims underneath to even it out.
- With the cabinet secured to the wall, reinstall any shelves or doors.
Suggested reading: One of the best ways to quickly improve the appearance and ambiance of a space where you probably spend a lot of time is by updating your kitchen cabinets. So, how much does it cost to paint kitchen cabinets?
Complete Repairs and Painting before Starting How to Install Kitchen Cabinets Project
The ideal time to make any kitchen improvements is right after your old cabinets are torn out and before learning how to install kitchen cabinets. Here are some upgrades to consider:
- Electrical upgrades. Kitchens from the past are notorious for having inadequate outlets and lighting. Consider putting in more outlets, more task or indirect lighting, and GFCI-protected outlets (now required by code). Since you can work behind the cabinets, it is simple to cut open drywall, fish new wires, and install electrical boxes. Repairs won’t need to be flawless because they won’t be visible.
- Drywall repair. Fill in any holes or other drywall damage.
- Repaint all of the walls and the ceiling. You’ll also complete the job much more neatly and avoid the hassle of cutting in around the new cabinets. Any nicks or bumps can be repaired later.
- Install new finished flooring if you can. Before installing the cabinets, the majority of finished floor materials can be put in. It’s much simpler to do that because you can project the flooring underneath the cabinets to avoid having to cut around them later. Cabinets can be placed on most types of laminate flooring, hardwood flooring, tile, and most vinyl flooring without any issues. Be cautious though, as floating wood laminate floors and perimeter-glued vinyl need to be able to expand and contract freely. You might later run into issues with buckling, splitting, or cracking if you rest cabinets on them.
If you’re considering doing it yourself,-painting part of your home, you want to make sure that you get it right the first time. There is very little margin for error when it comes to your time and money. Even though painting your cabinets seems simple enough, you might find yourself second-guessing your decision. What is the best paint brush for cabinets?
FAQs
Should Cabinets Be Installed on Top of Tile?
Installing your tiles before your kitchen cabinets will cut down on overall labor costs. Putting in your tiles first will help prevent water damage in your kitchen. Cabinets can be installed first if you’re placing delicate tiles that might get damaged during cabinetry or appliance installation.
Do Kitchen Cabinets Go in before Or After Flooring?
In most cases, the cabinets are installed before the floor covering but after the subfloor and underlayment. In most cases, the floor covering or finish is cut to size and pressed up against the base cabinets, leaving a small gap that is filled in by nailing a shoe molding or baseboard to the underside of the base cabinets.
Read about
Final Thoughts
Cabinet installation is a task that a do-it-yourselfer can successfully complete with precise measurements, careful positioning, and secure mounting techniques. But whenever you embark on a home improvement project, safety must always come first. To help prevent your feet from being crushed by a falling cabinet, make sure to put on the proper personal protective equipment, such as gloves, safety glasses, and steel-toe shoes.
Keep in mind that if the cabinets aren’t level, the drawers might become stuck when you try to pull or push them out. To avoid making time-consuming mistakes, proceed cautiously and double-check each measurement throughout the installation process.