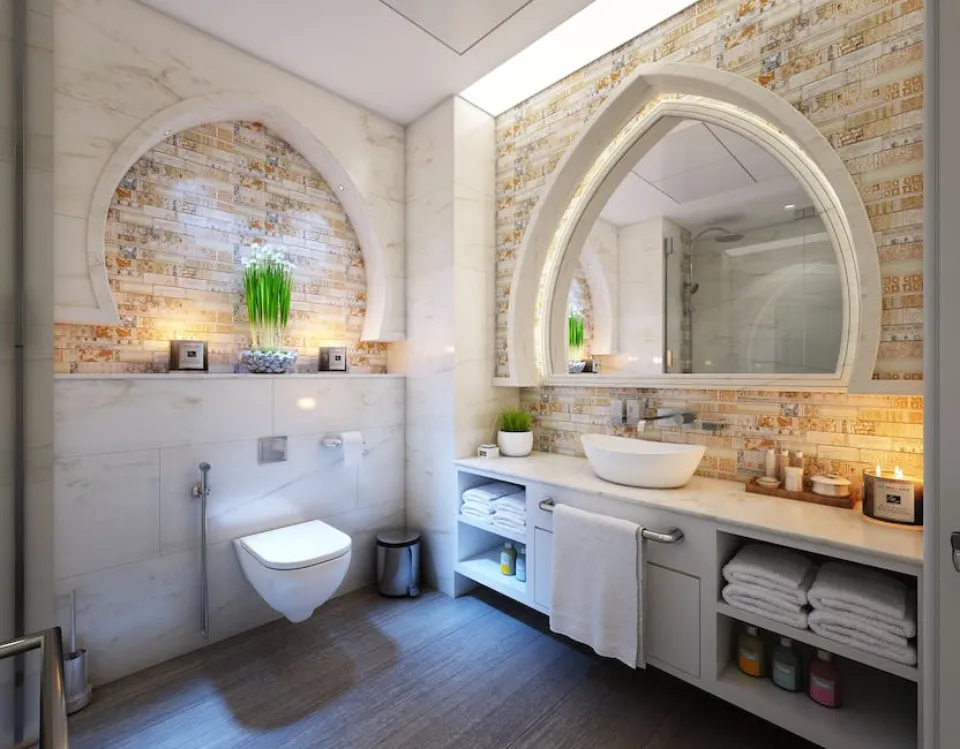
How to demo a bathroom safely? Making the bathroom demolition a DIY project is an excellent way to reduce the cost of your project if you’re hiring a professional to handle the remodel.
You need to consider safety, collect the tools and prepare for the demolition first. Then, demo a bathroom vanity, a toilet, floor tiles, and bathtub or shower.
Please read on for more detailed information.
DIY Bathroom Demolition Safety
Safety is the top priority whenever you’re planning a light demolition project or any other home improvement project. If you’re going to be demolishing your entire bathroom, you may run into hazards like sharp pieces of material, mold, or even sewer gases. For this reason, anyone planning to demolish a bathroom at home should wear safety goggles, gloves, and a breathing mask to ensure maximum safety.
Thick boots are another crucial piece of protection because you’ll be lifting and moving some heavy objects, and breaking and cutting bathroom fixtures can result in shards of sharp metal.
Plan the Scope of Your Project
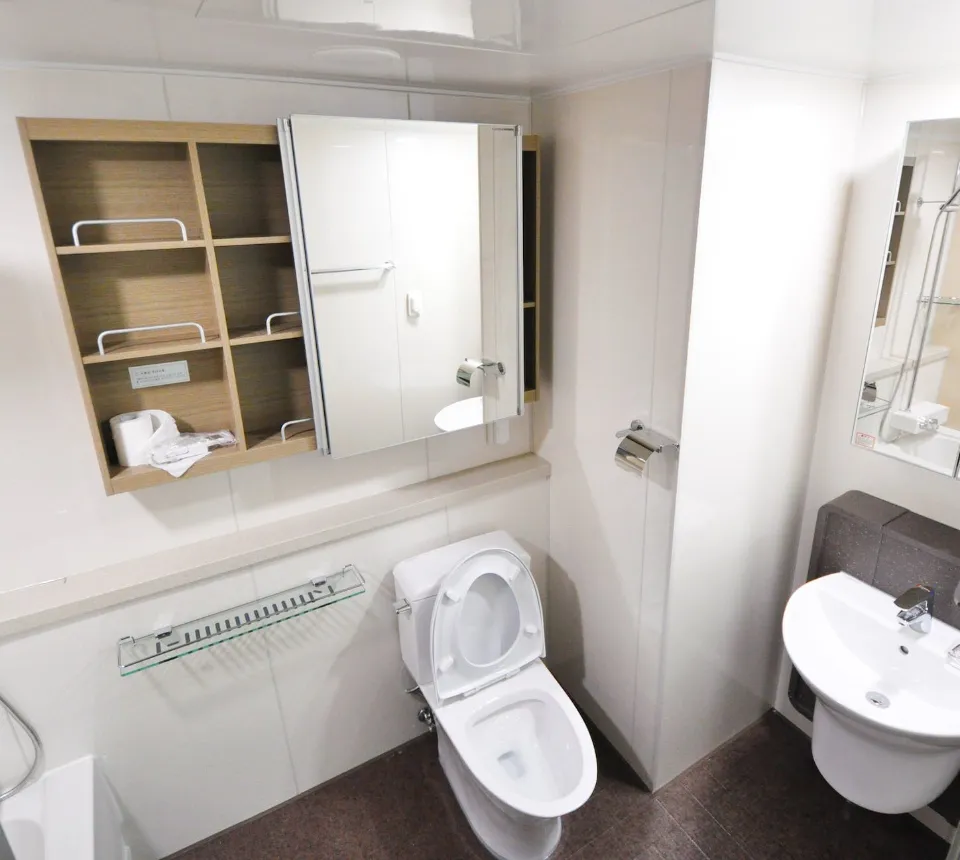
Determine precisely what you hope to achieve with your do-it-yourself bathroom demolition. Do you plan to completely remodel the space, or are you just replacing the toilet, tub, and vanity? Everything had to go because we were remodeling everything completely. It’s possible that you’ll need to take out the towel bars, medicine cabinet, mirror, shelves, and shower curtain rod. Read about: How to Frame a Bathroom Mirror?

Tools You May Need
- Screwdrivers: Phillips and flathead
- Crescent wrench
- Channel locks
- X-acto knife
- Putty knife
- Wire brush
- Pry bar (0ften called a red bar)
- Claw hammer
- Shop vac
- Set of Allen wrenches or hex keys
- Possibly an oscillating multi tool
- Possibly a reciprocating saw
- Thinset removal blade
- New wax ring for toilet
- Gloves, mask, and safety glasses
If you’re removing shower tiles, it’s a good idea to turn off the water supply to the entire house. You never know what is behind those walls. Avoid striking electrical wiring or copper pipes.
Turning off the water supply might be sufficient if you’re not completely remodeling the bathroom.

How to Demo a Bathroom?
Unfortunately, there are no shortcuts to demoing a bathroom safely. There are multiple fixtures in your bathroom, and each one requires a specific approach to demolish and remove safely. To learn how to take out some typical bathroom fixtures, read the sections that follow.
First Steps
It’s critical to make sure the bathroom is completely empty before beginning to remove the floor tile, shower tile, or any other fixtures. This entails emptying every cabinet and shelf in the space, as well as removing any artwork or other decorations from the walls.
Make sure to go through your bathroom vanity and take out anything that is kept there. By taking this action, you will ease the remainder of the demolition process and protect any priceless items you might lose or damage.
Don’t forget to take out the soap, toilet paper, and towel racks on demo day. The demolition process will be greatly facilitated by this.
Once you prepare the area, the next step is to shut off the power and water to the room. This step is essential to making sure the project runs smoothly and avoiding injuries because you might accidentally hit a power wire or water pipe while performing the demolition.
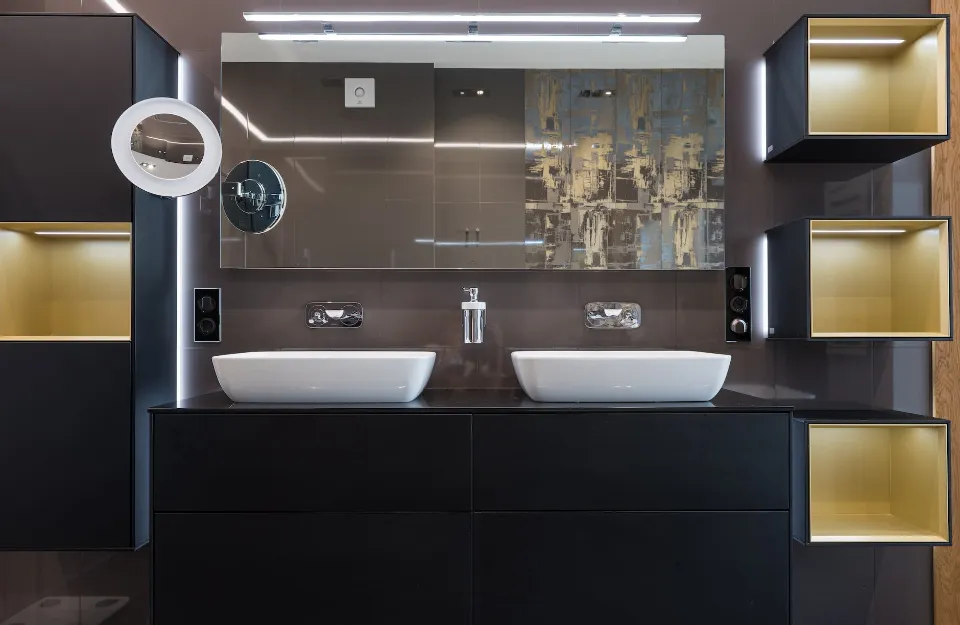
How to Demo a Bathroom Vanity?
- Put a bucket under the sink drain to catch any water in the drain trap.
- Use an adjustable wrench to unscrew the nuts around the u-shaped section of pipe, called the P-trap, under your sink. Pour any water that gets trapped in the P-trap into your bucket.
- Unscrew the nuts where the sink’s water supply lines come through the wall.
- For any bolts or brackets holding the sink to the wall, look behind the sink. Lift the sink out and take out anything you find.
- Pull your sink straight up and out of the vanity if it is supported by it. Sinks can be heavy, so be prepared with a helper.
- Remove the bolts holding the vanity to the wall, or use your utility knife to cut through any caulk. Pull the vanity out.
- Toss the debris in your dumpster so you have room to work safely on the next steps.
How to Remove a Toilet?
- The inlet supply pipe is a threaded pipe that can be found underneath the toilet tank. Remove the supply line valve on the wall or floor behind the toilet and unscrew the pipe from the tank.
- If your toilet is a two-piece design, remove the tank from the toilet base and set it aside.
- Utilizing your adjustable wrench, take out the bolts and nuts holding the base to the floor. Spray some WD-40 on them if they’re stuck, and then ratchet them loose with a socket wrench.
- Lift the toilet off the flange bolts by using a utility knife to cut through any caulk around the toilet base.
- The wax around the floor drain flange can be removed using a utility knife. The flange is removed by unscrewing it.
- While you finish the demolition work, stuff rags in the drain hole to prevent sewer gases from filling the bathroom.
- To make room for the following task, carry everything to the trash can.
How to Remove Floor Tiles?
- Heat registers and baseboards should be removed.
- There are many different kinds of floor tiles, and tile over vinyl is an option. Break up the floor tile with a regular hammer. Be sure to wear safety glasses because small chips can splinter.
- To get to the plywood that is covering the subfloor, you can use a chisel to chip away at the bonding. As you go, tidy up by throwing each broken tile in the trash.
- You’ll want to replace any plywood that isn’t in good shape. It can be torn up into pieces after the screws holding it to the subfloor are removed.
- The entire area should be cleaned with a shop vacuum.
- Make sure the plywood is level if it’s in good shape. If necessary, you can buy a leveling compound to make it easier to install new tile and prevent grout cracking.

Tear Out the Bathtub Or Shower
The demolition of your DIY bathroom is nearly finished. The shower or bathtub must still be removed. The good news is that this step is not too difficult, even though you may need assistance with the heavy lifting. As a result, get your toolkit ready because you’ll need a lot of it to finish this step.
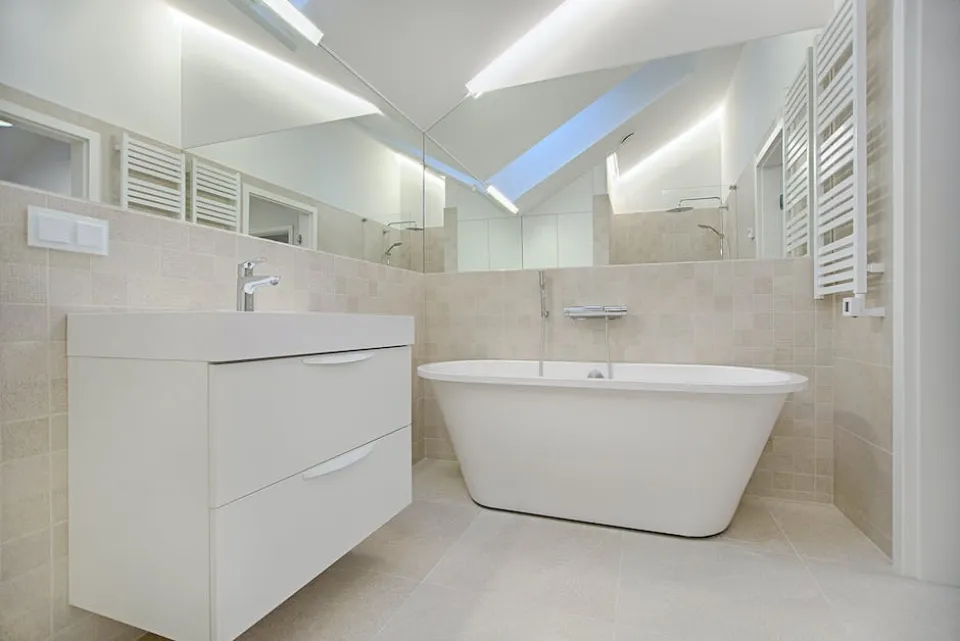
How to Remove a Bathtub?
Get to work by grabbing your pry bars, drywall saw, utility knife, screwdriver, and so forth.
- If the drywall didn’t already come down in the previous step, use a drywall saw to cut through it to a height of about 8 inches. Avoid cutting into the studs.
- Remove any screws holding the tub to the wall studs.
- Utilizing your utility knife, remove any caulk that is present between the tub and the floor.
- Pull the tub a few inches away from the wall.
- Cut the tub in half using a jigsaw. You can skip this step if your tub can fit through your doors intact, but cutting it will make it lighter and safer to carry.
- Pry each piece up and pull it out while working with a helper.
- Carry each piece to the dumpster.

How to Remove a Shower?
Gather your wrench, pliers, screwdrivers, pry bars, utility knife, reciprocating or jig saw and a hammer and get ready to make a mess.
- Use a screwdriver to remove hinges on the shower door, then set the door aside.
- The door frame must first be removed by unscrewing or prying out the fasteners holding it in place. To cut through caulk, you might require your utility knife.
- Remove fixtures like the shower head and arm, water control levers or knobs, drain covers, soap holders, and towel racks.
- Use a reciprocating or jigsaw to cut the shower walls into manageable pieces. Pry off rows of tiles in tile showers to divide each wall in half. To create three pieces and a floor for fiberglass showers, cut each wall at the corner and base.
- To remove, pry the shower floor apart.

Disposing of Materials When You Demo a Bathroom
Your best option is to rent a dumpster for the bathroom demo rather than putting the trash from the bathroom renovation in the trash or letting the mirror sit in the garage for months. By opening the door at the rental’s back, you can quickly carry debris into the dumpster. Throwing the material over the low wall is another way to get rid of it.
When your finished with your bathroom demo work, a driver will pick up your rental and take it to the dump.
Good luck and happy DIY bathroom remodel!
FAQs
How Much Should I Charge to Demo a Bathroom?
On average, you can expect to pay between $500 and $2,000 for bathroom demolition. The fixture that needs to be removed determines the typical breakdown of demolition costs. For instance, it costs between $90 and $120 to remove walls when demolishing a bathroom.
How Long Should Bathroom Demo Take?
Demolition: One to two days
But if the bathroom remodels requires stripping down to the wall studs, pulling out the tub or shower and its surrounding tiling, and so on, you’re looking at true demolition. Depending on how much needs to be removed, allow anywhere from a few hours to two days.
Is It Hard to Demolish a Bathroom?
Fortunately, this is fairly straightforward and you only need a few tools to demolish your bathroom DIY. The tools you need for demolition include a pry bar, adjustable wrench, reciprocating saw and a screwdriver. Start by making your area safe to work in before beginning your demolition.
Do You Do Floor First Or Last in Bathroom Renovation?
Why You Should Tile the Floor First. The tiled wall “hangs” over the tiled floor, according to the tile installation principle. The best way to achieve this result is to tile the bathroom floor first, making the wall tile appear to be “sitting” on the floor.