
Is your kitchen faucet leaking? Expenses and patience are involved when kitchen or bathroom faucets leak. Learn how to fix a leaky kitchen faucet with our step-by-step instructions.
In general, we will show you how to fix 4 different types of Leaky Kitchen Faucets, including Cartridge Faucets, Compression Faucets, Ceramic Disk Faucets, and Ball-Type Faucets.
Continue reading.
How to Fix a Leaky Kitchen Faucet?
Here are the details:
Leaky Cartridge Faucet
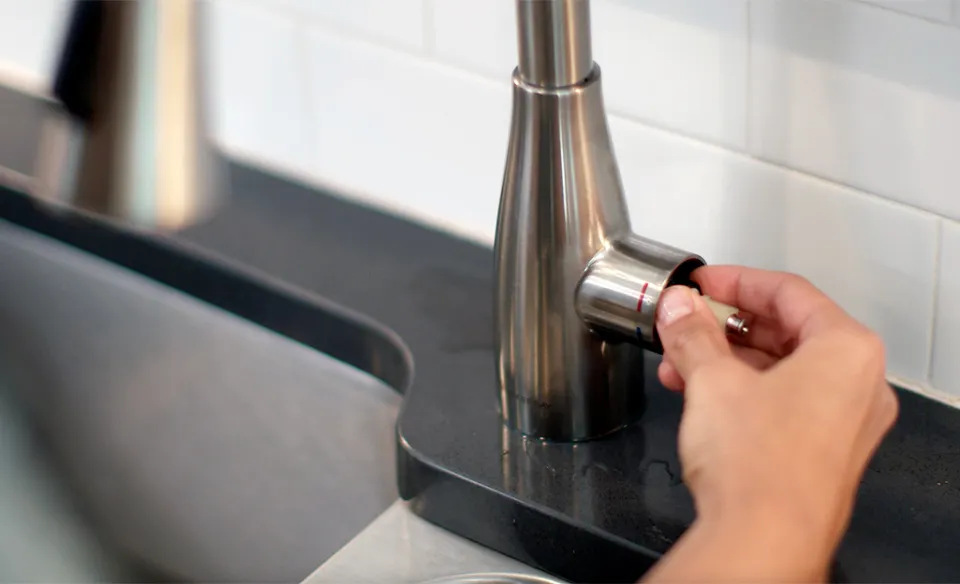
- Remove the handle screw, pry off the decorative cap, tilt the handle back, and then pull it off.
- Using needle-nose pliers, remove any threaded retaining clips that may be holding the cartridge in place. Then, raise the cartridge straight up.
- Using a utility knife, remove the spout and the old O-rings. Apply non-toxic, heat-resistant plumber’s grease to the new O-rings.
- Simply compare the lengths of the new and old cartridges to replace the entire cartridge. Complement the stem end where the handle attaches as well.
Leaky Compression Faucet
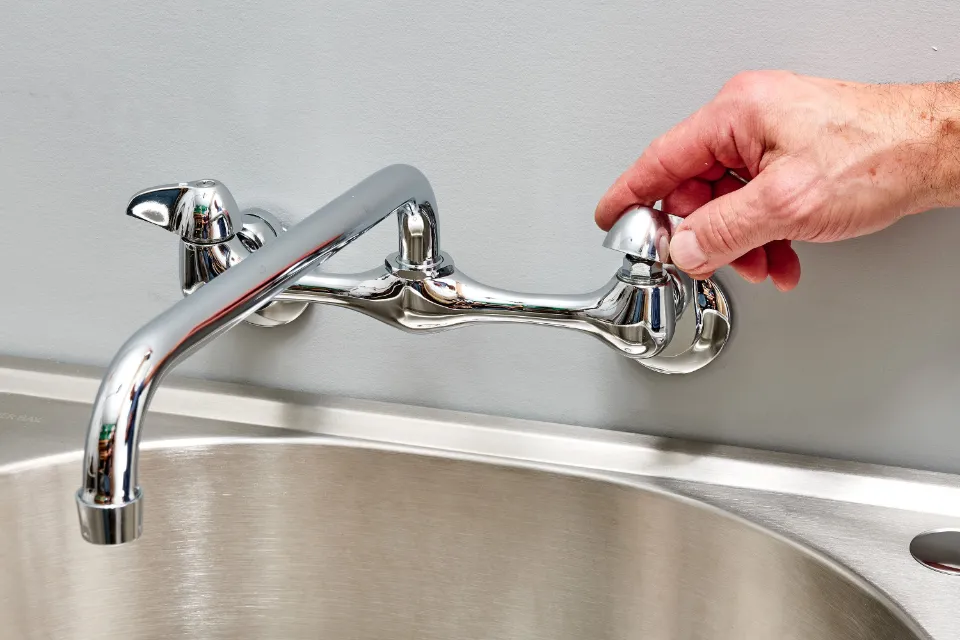
- The majority of leaking compression faucets require new seat washers. Use a small slotted screwdriver or utility knife to pry off the decorative cap on the handle, exposing the attachment screws.
- Use a screwdriver to remove the handle screw, then pull off the handle.
- To remove the packing nut and to separate the stem from the faucet body, use an adjustable wrench and a crescent wrench.
- The seat washer can be taken out and replaced by unscrewing the rubber washer at the stem’s bottom.
- Apply heat-resistant plumber’s grease that is non-toxic to the washers.
- Remove the packing nut’s stem and swap out the O-ring, which is to blame for leaky handles. O-rings range in size from 3/8 to 5/8 inch, so it’s crucial to match the exact size of your faucet. Apply plumber’s grease to the new O-ring.
- A retainer, which is a circular, recessed disk, holds the washer in place. If the original retainer is broken, grind it flush and put in a new retainer ring. The seat of your faucet may be pitted if the leakage persists.
- Remove the stem, then use emery cloth to smooth out the top end of the seat.
- Replace the original seat with a new one if it cannot be fixed.
Leaky Ceramic Disk Faucet
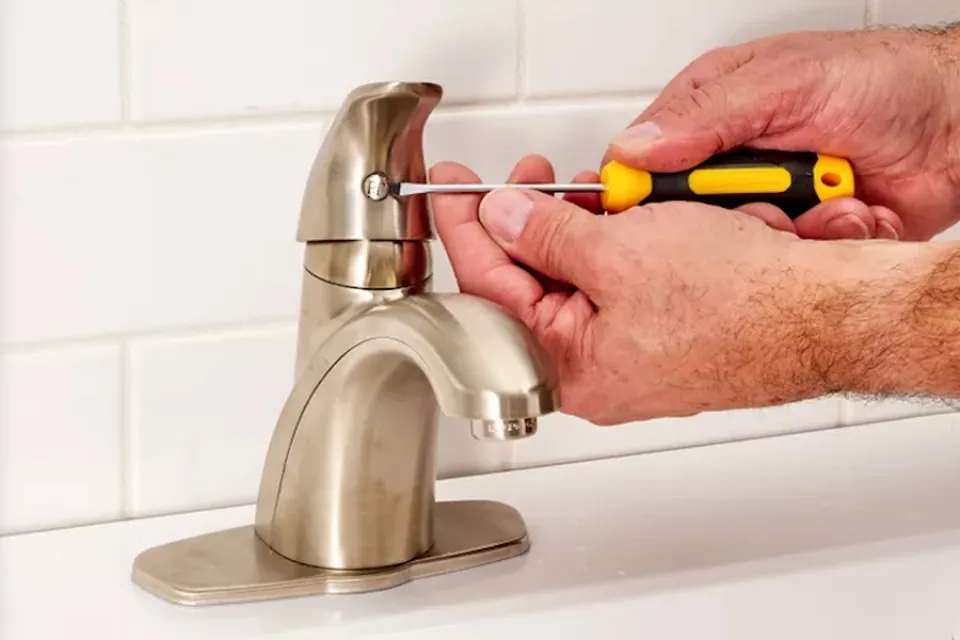
- To reach the set screw, pull back on the handle. Lift the handle off and unscrew the screw.
- Lift out the cylinder after removing the escutcheon cap and the disk cylinder mounting screws.
- Lift the neoprene seals away from the cylinder using a blunt screwdriver. Replace the damaged seals.
- The cylinder openings should be thoroughly cleaned using distilled white vinegar and a soft scouring pad.
- Replace the seals and reassemble the faucet.
- Move the handle to the “on” position and turn the water back on slowly—the force of the returning water can fracture the ceramic disk.
- If you’re replacing the entire cylinder (usually not necessary), set it in place and secure it with the new mounting screws.
Leaky Faucet Ball-Type
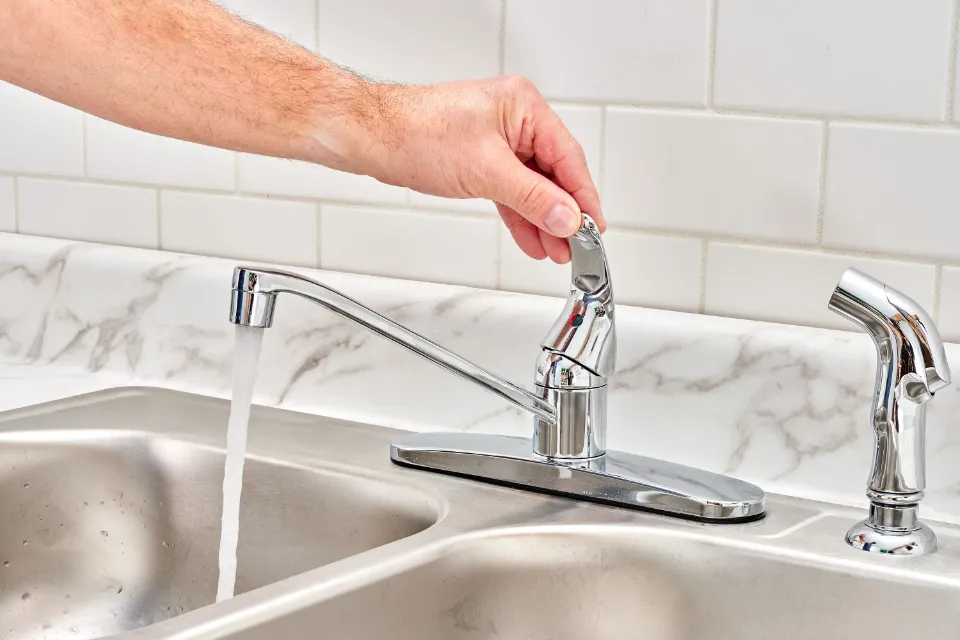
Finding the leak’s origin can frequently be challenging because this type of faucet has numerous parts. By purchasing a replacement kit and installing all new parts, you can avoid the frustration.
- Pull the small index cover from the faucet’s side using a pocketknife to reveal the hex-head screw.
- Pull off the faucet handle by loosening the screw with a hex-key wrench.
- To remove the cap and collar, use a pair of flexible pliers.
- Using the special tool included in the faucet-repair kit, loosen the faucet cam and lift it out, along with the cam washer and the rotating ball.
- Reach into the faucet body with needle-nose pliers and remove the rubber seats and springs.
- Then, insert the pencil’s point into the faucet after attaching a fresh spring and rubber seat.
- Repeat to install the second seat and spring.
- The stainless steel ball should be put back in place, being careful to line up the keyway with the corresponding tab inside the faucet body.
- A fresh rubber gasket and cam cap should be put on top of the stainless steel ball.
- Align the keyway on the cap with the corresponding slot.
- Reattach the top cap assembly to the faucet by hand-tightening it.
- For the nut to have the proper tension against the stainless-steel ball, tighten it using a spanner wrench.
What Makes a Faucet Leak?
The most typical causes of a leaking faucet are a worn-out washer or gasket, a loose O ring, or corrosion in the valve seat. When turning your faucets on and off, take care not to over-tighten them, as this can cause the rubber washers to wear out quickly. It’s normal for faucets with a rubber washer and compression valve to drip a few times after you turn them off, but you don’t need to keep tightening them. Just allow the residual water to drip out without tightening the tap more.
How Do You Fix a Dripping Faucet?
Turn off the water under the sink prior to beginning. Establish a spot nearby to arrange the parts in the order of removal, and cover the drain with a rag to catch any dropped pieces. Prepare some distilled white vinegar and a soft scouring pad to remove any mineral deposits discovered on the parts, and tape the jaws of your wrench with a layer of duct tape to prevent scratching the fixture.
Read about How to Replace a Kitchen Faucet?
Summary: How to Fix a Leaky Kitchen Faucet?
In general, we show you how to fix 4 different types of Leaky Kitchen Faucets, including Cartridge Faucets, Compression Faucets, Ceramic Disk Faucets, and Ball-Type Faucets.
Please leave a comment if you have any queries. For reading, I’m grateful.